LP12MF: Installing the Stack Audio Serene Baseboard
A while back, I contacted Theo Stack about trying one of his Serene Baseboards (£150/$185). I’ve been curious about the Stack LP12 upgrades for some time. I was particularly interested in their approach to vibration damping. Many of the upgrades I’ve tried during this LP12MF of mine follow a “maximum ringing” philosophy — or simply don’t think about ringing. The best examples of this are my Tiger Paw Khan top plate and Mober subchassis — both of which ring like crazy (in this respect, the Mober is like the Linn Keel). Stack take a different approach with their products, using constrained layer damping to minimize the transmission of vibration. I’m mostly ready to stop tweaking my LP12, but the one thing I’m still interested is this approach to damping, which places products like the Stack Audio top plates and the AudioFlat RubiKon subchassis (also heavily damped) at the top of my list of things I still want to try.
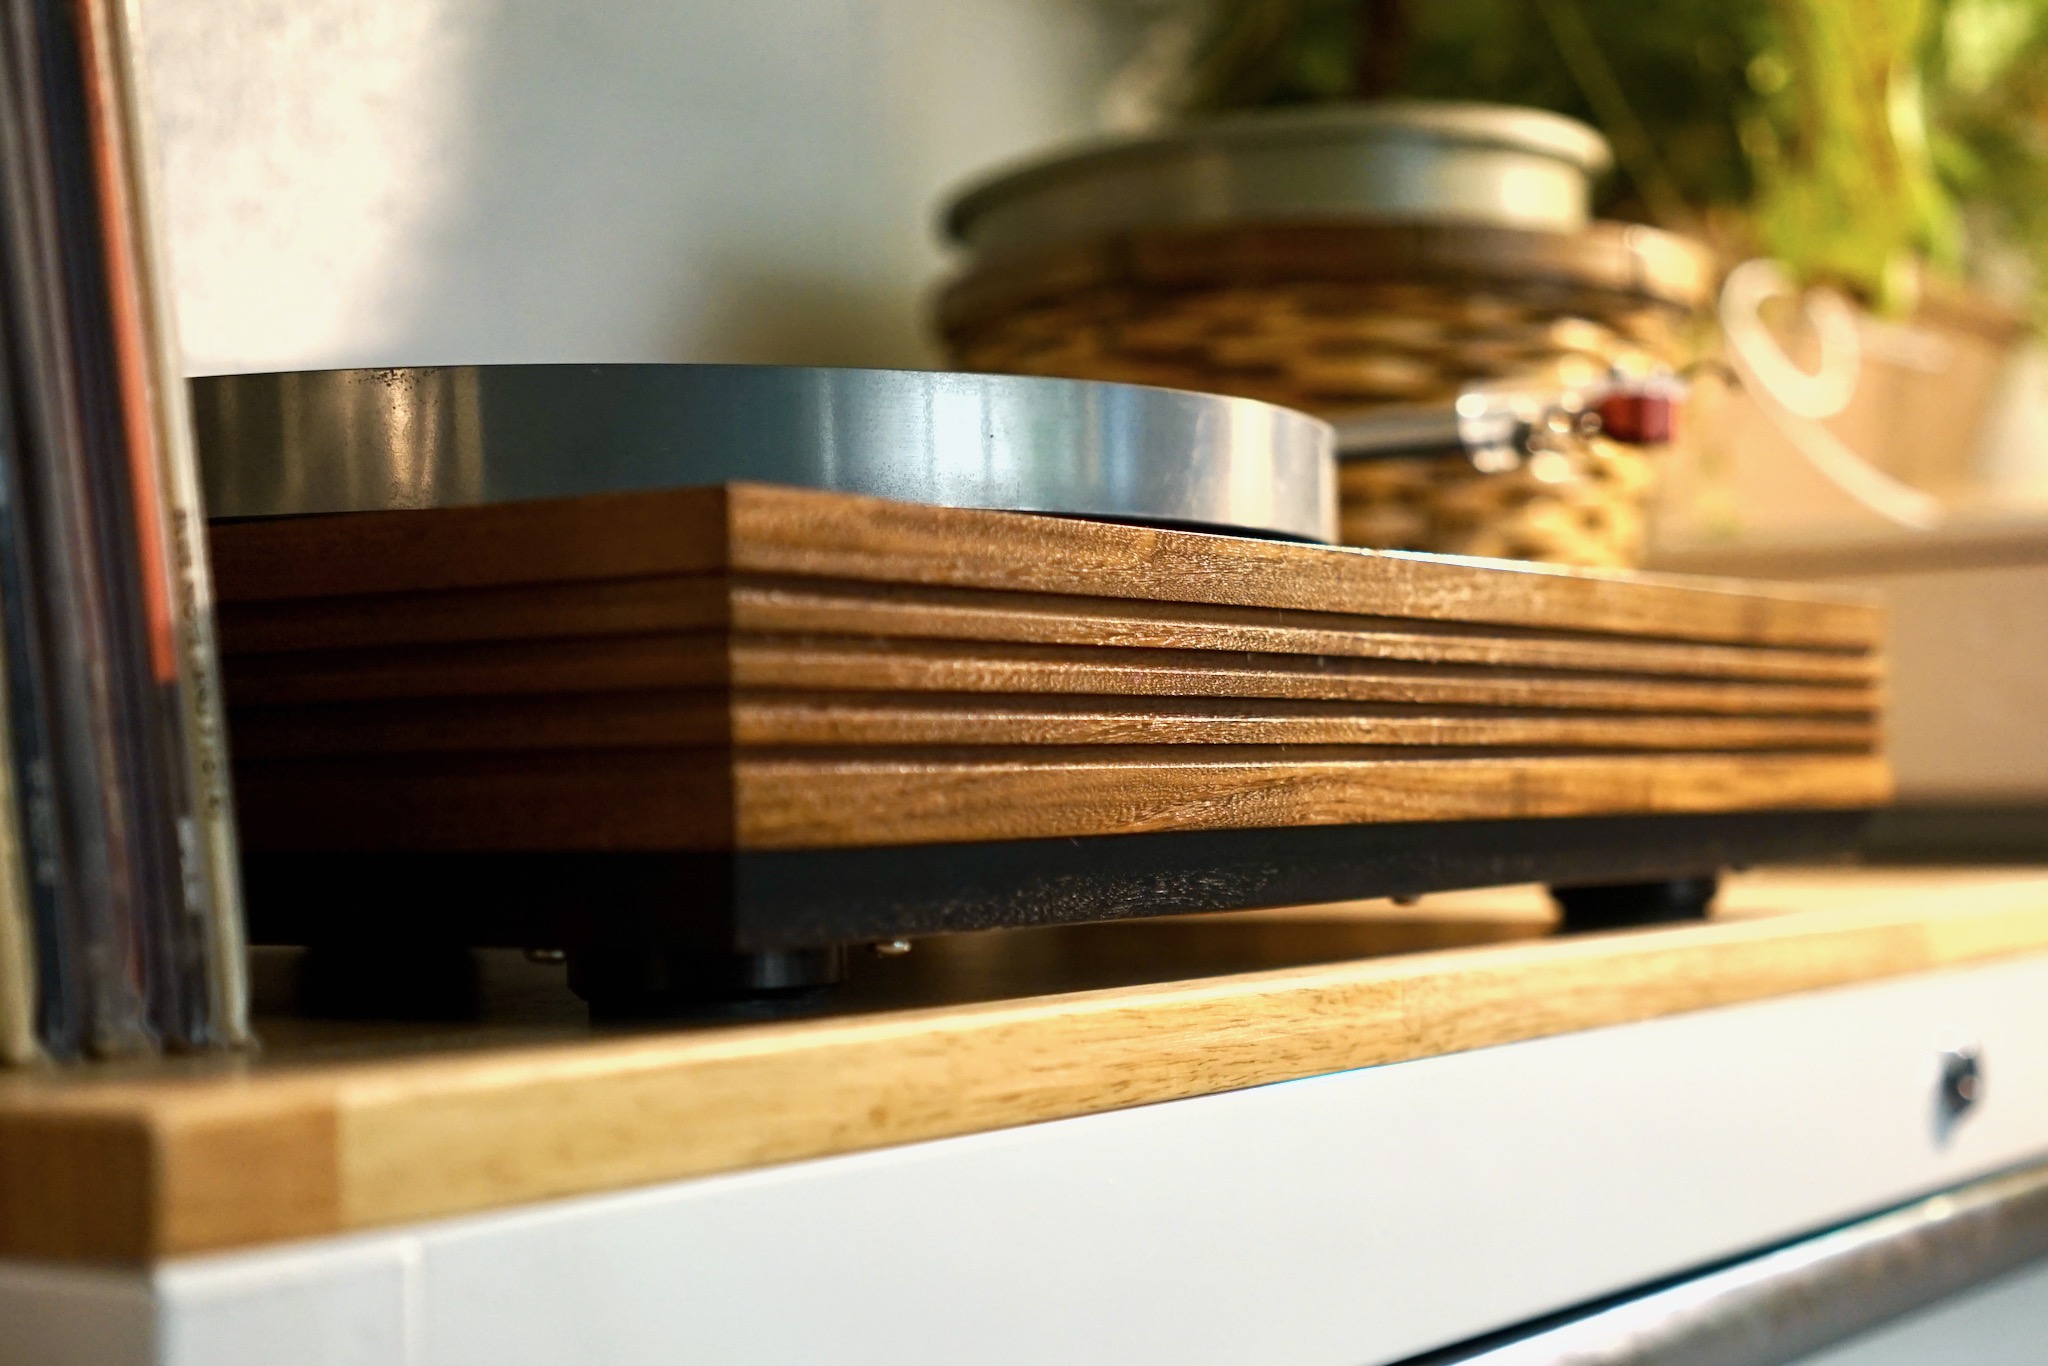
The first Stack Audio product I inquired about, however, was their Serene baseboard. I was curious about this because I hadn’t experimented at all with baseboards. I’d always found that my LP12 sounded better with the cheap/nasty baseboard removed entirely — which was convenient, since I also found the baseboard annoying to remove every time I wanted to tweak my table (which, as you know is often). The Serene appealed in particular because it employs constrained layer damping (it’s made up of two layers of aluminum joined with what Stack call “AVDC,” “Advanced Vibration Dissipation Composite”).
Another thing that drew me to the Serene was its leveling feet. I’ve been meaning to set up a second LP12 in my living room, where it would need to sit on top of a sideboard. This sideboard is nearly but not totally level, so some leveling feet would be needed — which the Serene incorporates. Also, in my living room the turntable is placed quite close to the left speaker, so some further vibration damping from the sideboard would be useful. The Serene’s sorbothane feet were perfect for the job.
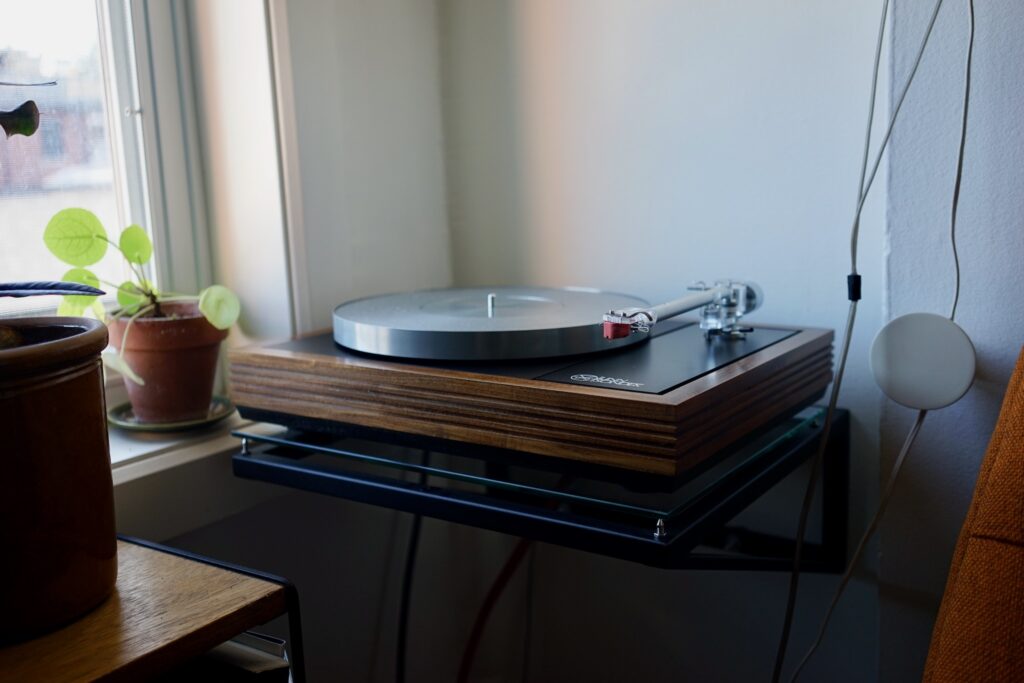
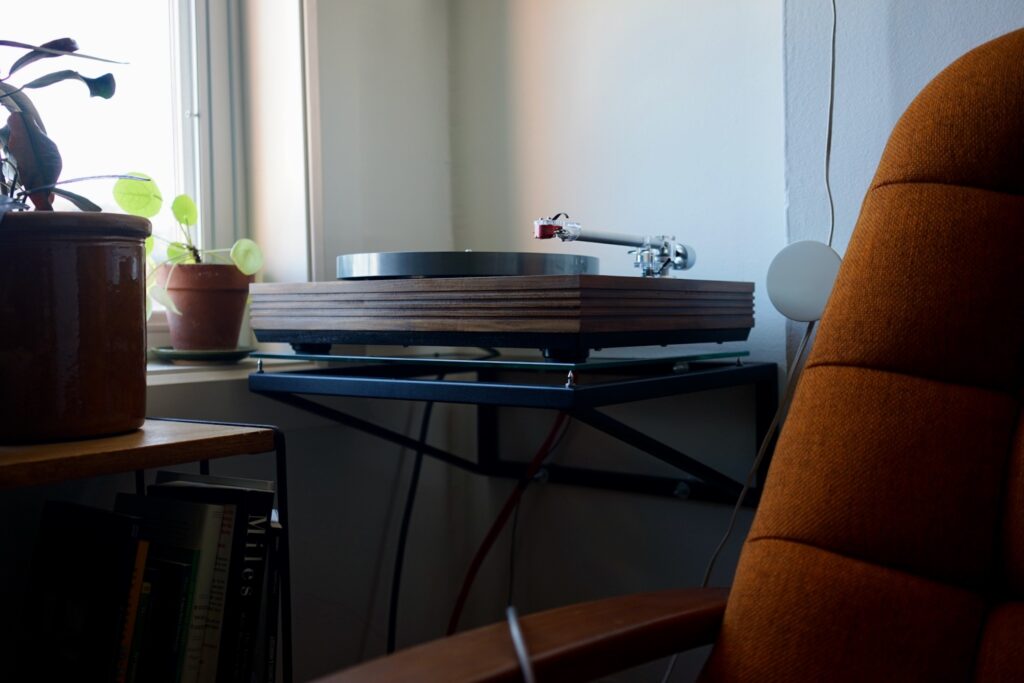
I received the Serene a few months back but, given the flux that my system has been in for the past little while, didn’t install it until this weekend. I’d initially been meaning to install it in my main turntable, but that’s currently using a prototype aluminum Mober plinth that won’t allow me to easily drill the mounting points for the Serene baseboard. So I’ve gone ahead and put together a second LP12 on which to try out the Serene — built around my afromosia plinth and Roksan Nima. That’s the setup I’ll be using to try out the Serene in the next weeks. A full listening report will follow. In the meantime, here are some photos of the installation process.
Installing the Serene
Everything ready to roll.
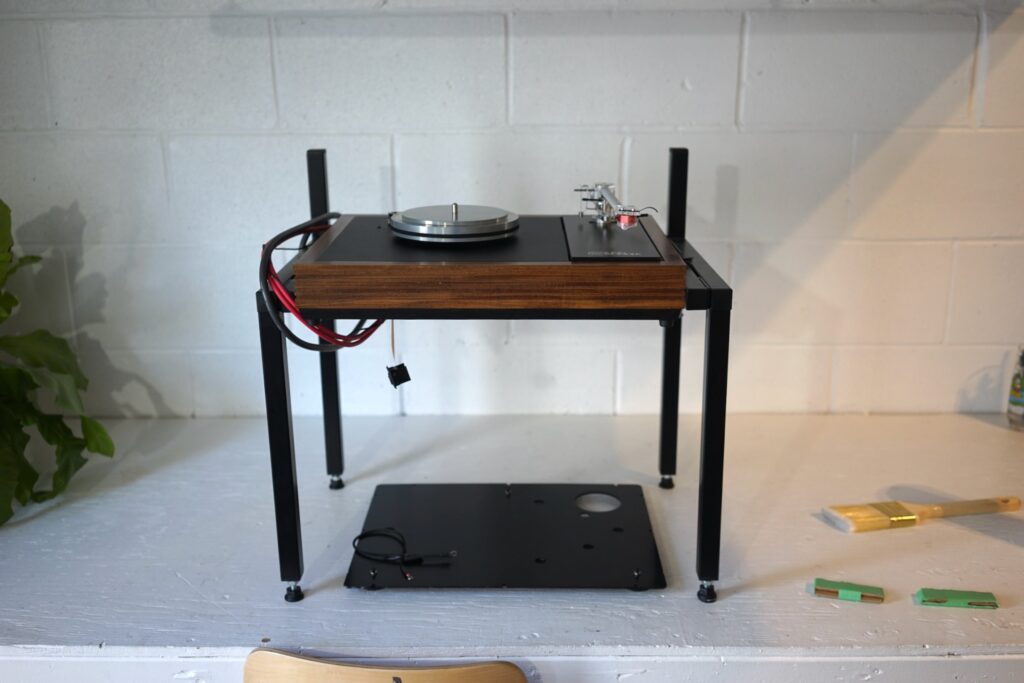
Installation consisted of getting the motor and tonearm cables seated in their proper exit holes, then locating the baseboard on the plinth, installing the two screws that lined up with existing baseboard screw points (centre of the plinth, front and back) and then drilling pilot holes anywhere they were needed. As you can see above, I needed to drill an additional eight holes. Then I tightened the screws. The whole process took about fifteen minutes.
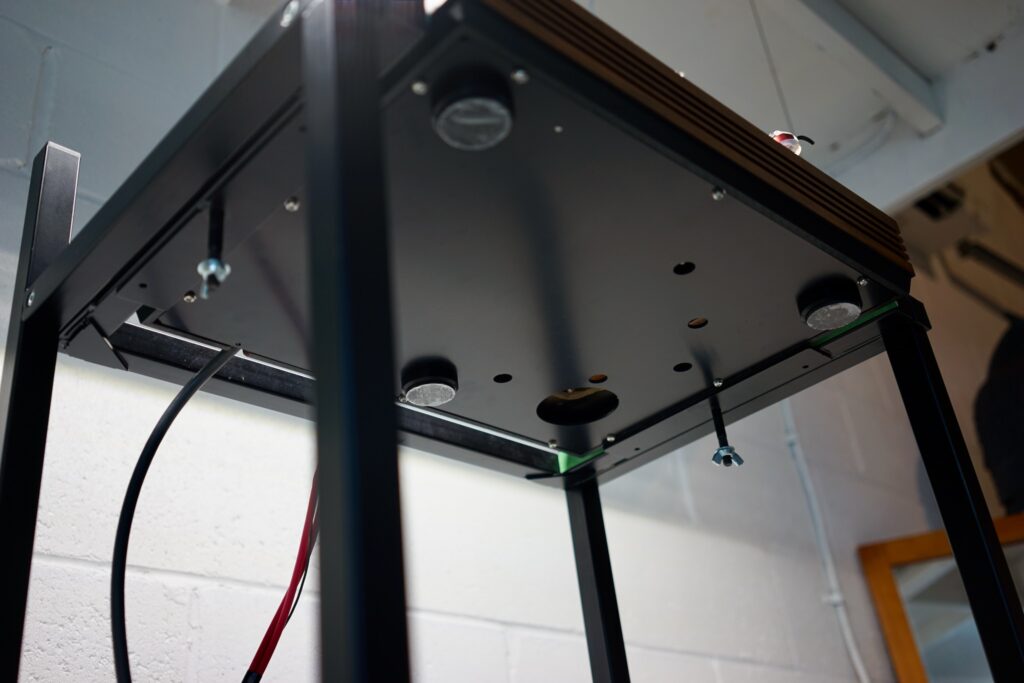
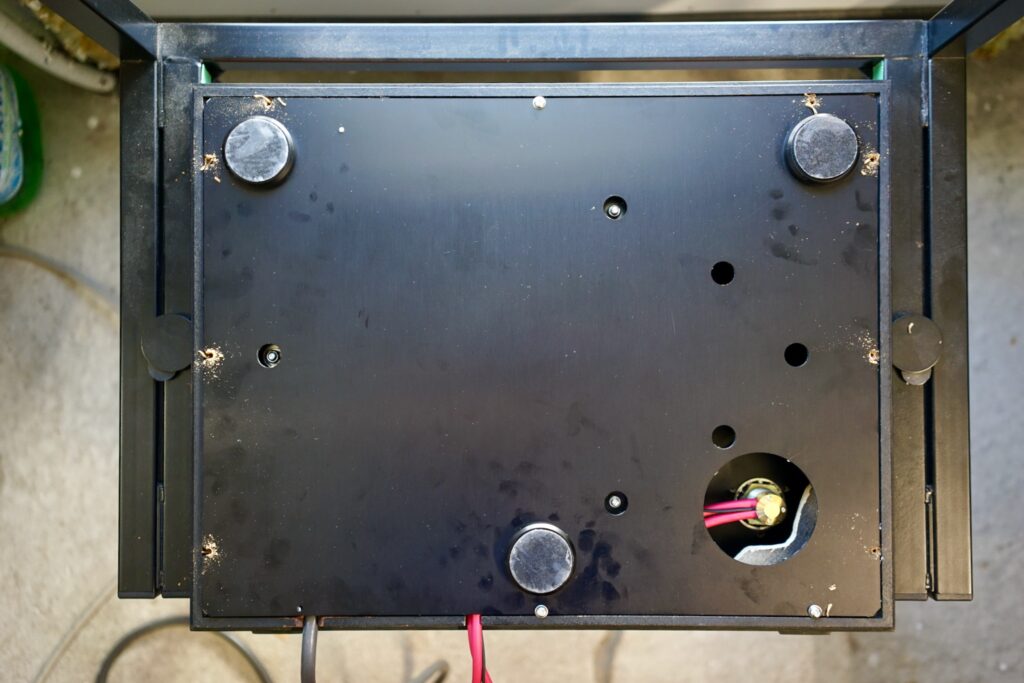
That’s how it looks from below once installed.
Although you can’t really see the Serene once installed, I found it actually did enhance the looks of the deck. The stock rubber feet splayed out to the far corners of the plinth don’t look nearly as nice as the wide feet of the Serene slightly inset.
The fact that there are only three feet — one centred at the back of the plinth — makes good sense and also looks cool, as from certain angles it looks a bit like the rear of the turntable is floating.
How I’ll Be Listening
I’ve now got my two LP12s set up in my main system (aka Sillys Place). I’ll be doing a series of listening tests with the afromosia LP12 playing via my Paradise phono stage, with and without the Serene baseboard. This afromosia LP12 is sitting on a sideboard — okay, it’s actually a tool chest 🙂 — that I’ve leveled, so that comparison between the stock feet and the baseboard is as fair as possible. The fact that it won’t be sitting on my Tiger Paw VulKan TT shelf means the Stack baseboard will have a chance to shine in its natural environment where some vibration damping will be part of its job.
Look forward to the results in the next weeks.